
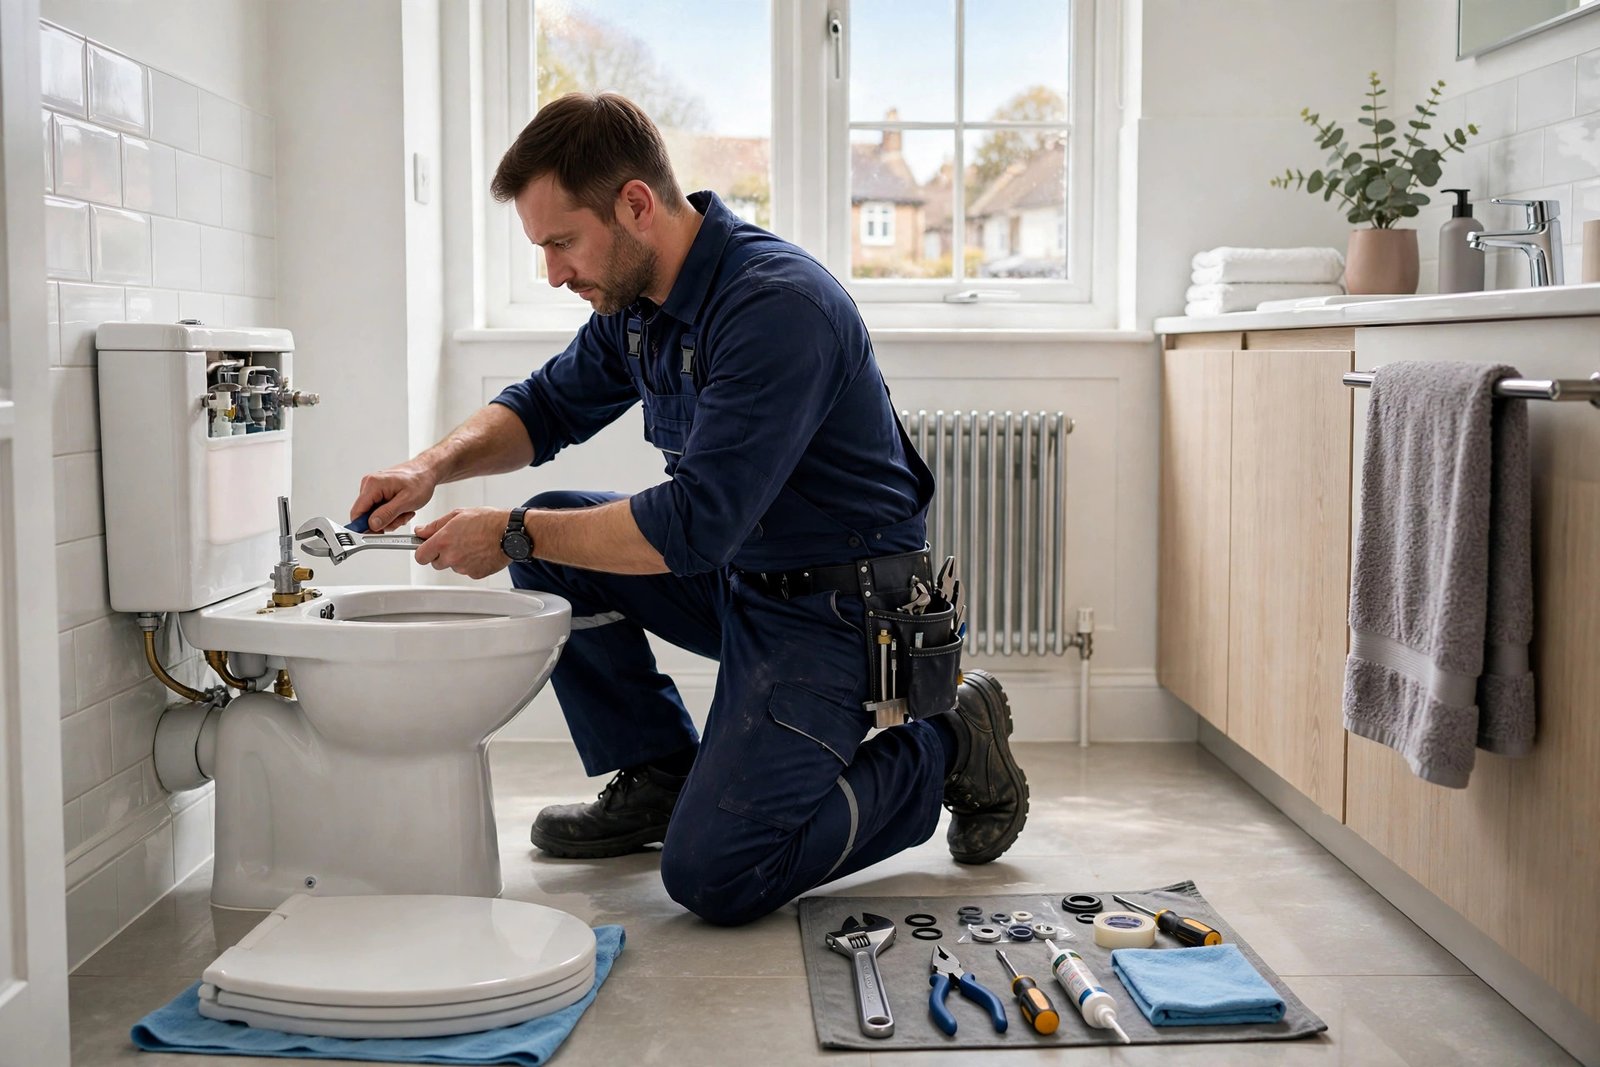
First: stop flushing A blocked toilet is one of the most stressful plumbing problems — and one of the most common. The good news is that many toilet blockages can be cleared safely at home with a plunger and a bit of patience. This guide walks through the safe DIY steps, what not to do, and when to stop and call a plumber. If the toilet won’t flush away, do not flush again. A second flush can overflow the pan and flood the floor. Instead: Lift the cistern lid and check the water level — if it is rising, turn off the isolation valve beside the toilet (usually a small tap on the pipe near the floor). Put old towels around the base of the toilet and put on rubber gloves. Give the blockage time — some soft blockages (too much paper) clear on their own within 20–30 minutes as the paper breaks down. Step 1: Try a plunger A flange plunger (the type with a smaller cup inside the main cup) works best for toilets. A flat sink plunger is less effective but better than nothing. Make sure there is enough water in the pan to cover the plunger cup. If the water is very low, add a bucket of water — do not flush. Place the plunger over the outlet at the bottom of the pan and press down firmly to seal it. Push and pull with steady, even strokes for 20–30 seconds. Keep the seal — fast, shallow splashing doesn’t work. Pull the plunger away sharply and see if the water level drops. Repeat up to 4–5 times. If the water starts to drain, flush once to test. Patience matters more than force. Gentle, rhythmic plunging clears more blockages than aggressive jabbing. Step 2: Try hot water and washing-up liquid If plunging hasn’t worked, this method helps with soft blockages such as paper and waste: Squirt a generous amount of washing-up liquid into the pan. Wait 10–15 minutes for it to work down to the blockage. Pour in a bucket of hot (not boiling) water from waist height. The heat and the height help break up the blockage. Wait 10–15 minutes, then try the plunger again. Never use boiling water — it can crack the ceramic pan. Step 3: Try a toilet auger (drain snake) A toilet auger is a flexible cable with a crank handle, designed to reach into the toilet trap without scratching the ceramic. It is the right tool if the blockage is deeper than a plunger can reach. Feed the cable slowly into the outlet, cranking gently as you go. When you feel resistance, crank and push gently to break up or hook the blockage. Pull the cable back slowly and clean it. Flush once to test. Do not force the cable, and do not use a metal coat hanger or a wire — they scratch the glaze and can get stuck, turning a small job into a big one. What NOT to do Don’t keep flushing. It floods the bathroom. Don’t use boiling water. It can crack the pan. Don’t pour chemical drain cleaner into a toilet. Caustic chemicals can splash back, damage the glaze and seals, and make the job dangerous for anyone who works on the toilet afterwards. Don’t use a wire coat hanger or sharp tools. They scratch the ceramic and can lodge in the trap. Don’t ignore a toilet that keeps blocking. A toilet that blocks every few weeks usually has a deeper problem — a partial drain blockage, a faulty flush, or a problem further down the pipe. When to call a plumber Stop the DIY attempts and call a plumber if: The toilet overflows or sewage backs up into the bath, shower, or other drains. More than one fitting is affected (toilet + bath + sink) — that points to a drain blockage, not a toilet blockage. You can smell sewage, or the water level in the pan rises and falls on its own. The toilet blocks again within days of clearing it. You have tried plunging and hot water with no result after a reasonable attempt. The toilet is cracked, loose, or leaking at the base. A blocked toilet that affects other drains is treated as urgent — call straight away rather than waiting. Preventing the next blockage Only flush toilet paper and human waste. Never flush wet wipes (even “flushable” ones), sanitary products, cotton buds, nappies, or cotton wool. Don’t use too much toilet paper at once — two smaller flushes beat one overloaded flush. Fix a weak flush promptly. A toilet that doesn’t flush with full force is far more likely to block. If you have young children, a toilet lock can stop toys and wipes going down the pan. Frequently asked questions What is the fastest way to unblock a toilet? A flange plunger used correctly — firm seal, steady rhythm, 20–30 seconds per attempt — clears most soft blockages within a few attempts. Give it time and don’t rush to chemicals. Can I use drain cleaner in a toilet? No. Caustic drain cleaners can splash back, damage the pan’s glaze and the seals, and make the toilet unsafe for anyone working on it afterwards. Use a plunger, hot water, or a toilet auger instead. Why does my toilet keep blocking? Repeat blockages usually mean a deeper problem: a partial drain blockage, a weak flush, a problem in the soil pipe, or something being flushed that shouldn’t be. If it blocks again within days, get it investigated. Will a blocked toilet clear on its own? Sometimes — soft paper blockages can break down within 20–30 minutes. If the water level hasn’t moved after half an hour, or if sewage is backing up elsewhere, don’t wait. How much does it cost to have a toilet unblocked? A straightforward toilet unblock is usually a single visit. You get a clear, upfront quote before any work starts — no hidden fees and no surprise
Running Toilet Fix: Causes & Cistern Repair Guide (UK)
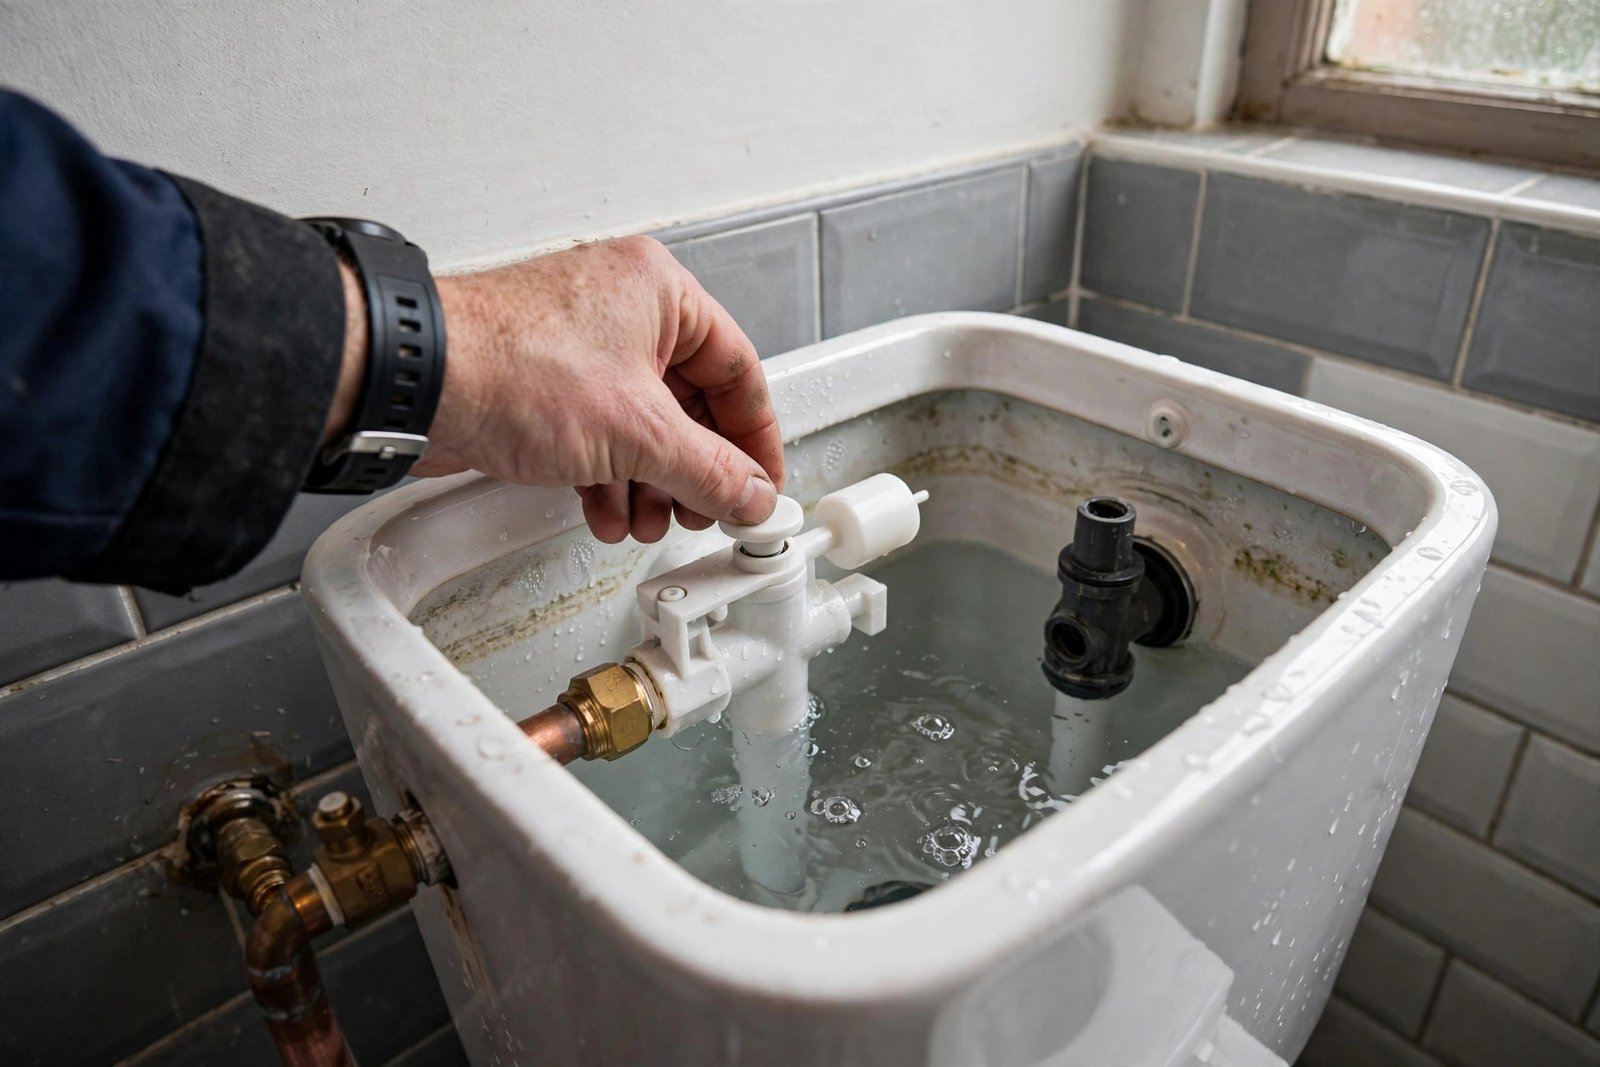
A toilet that runs constantly — water hissing into the bowl long after the flush — is easy to ignore and expensive to leave. Usually the cause is a single worn part inside the cistern costing a few pounds to replace. This guide explains why toilets run, how much water they waste, how to diagnose the fault, a step-by-step fix, and when to call a plumber. How a toilet cistern works (in 30 seconds) Two mechanisms live inside the cistern: The flush valve (with a flapper or seal at the bottom) holds water in. When you flush it lifts, water rushes into the bowl, then it drops back to seal. The fill valve (with a float) refills the cistern. The float rises with the water and shuts the valve off at the right height. A running toilet means one of these two is not doing its job: water is either leaking past the flush valve into the bowl, or the fill valve is not shutting off and water is escaping down the overflow. Why your toilet keeps running: the common causes Worn flapper or flush valve seal — the rubber seal hardens, warps or limescales up (common in Crawley’s hard water) and stops sealing, so water trickles into the bowl. Faulty fill valve — grit or wear stops the valve closing fully, so water keeps flowing in and draining away down the overflow. Float set too high or stuck — the water level rises above the overflow and the cistern constantly drains. Sometimes the float arm is just bent or catching on the cistern wall. Cracked or misaligned overflow pipe — water finds its way out below the intended level. Limescale build-up — hard water crusts up valves and seals, stopping them seating properly. A chain or linkage that is too short or tangled — on older siphon-style cisterns, the flush mechanism can jam slightly open. How much water does a running toilet waste? A faulty seal can waste 200 to 400 litres of clean water a day — dozens of flushes you never asked for. On a metered bill that adds up fast. If your bill has jumped with no other change, check the toilet first. Diagnosing the fault: the food colouring test Before you take anything apart, find out where the water is going: Remove the cistern lid and note the water level. It should sit about 25mm below the top of the overflow pipe. Add a few drops of food colouring (or a dark squash) to the cistern water — not the bowl. Wait 15 minutes without flushing. If colour appears in the bowl, water is leaking past the flush valve seal — the flapper or seal needs attention. If the cistern water level has risen and water is flowing into the overflow pipe, the fill valve or float is the problem. This two-minute test tells you exactly which part to fix. Step-by-step: fixing a running toilet You will need a sponge or old towels, an adjustable spanner, and the replacement part (flapper/seal or fill valve — £5 to £20 at a DIY shop; take the old one to match). Turn off the water to the cistern. Most modern toilets have a small isolation valve on the supply pipe behind or beside the pan — turn it a quarter-turn. If there is none, turn off the mains stopcock (see how to turn off your water supply). Flush the toilet to empty the cistern, and sponge out the remaining water. If the flush valve seal is leaking: unclip the flapper or unscrew the flush valve, clean the seating surface of limescale with a cloth and descaler, and fit the new seal or flapper. Make sure it sits flat with no twists. If the fill valve is faulty: unscrew the water supply connection and the retaining nut under the cistern, lift out the old fill valve, and fit the new one at the correct height — the critical level mark on the valve should sit above the overflow pipe top. Check the float. Whether it is a ball float on an arm or a built-in cup float, make sure it moves freely and shuts the valve off with the water level about 25mm below the overflow. Turn the water back on slowly, let the cistern fill, and watch. The fill should stop cleanly, the water level should hold steady, and the bowl should stay quiet. Flush two or three times to confirm everything works, then check again after an hour — some slow leaks only show over time. When to replace the internals vs call a plumber Replacing a flapper or fill valve is a solid DIY job. But call a professional when: The cistern is concealed — built into furniture or a wall-hung frame, where access means removing panels and one wrong move cracks the unit. Parts are seized or corroded — old brass fittings that will not budge often shear off, turning a £10 part into a bigger job. The toilet is very old — matching parts for 20-year-old cisterns can be a hunt; a plumber will know what fits or whether replacement internals make sense. The flush mechanism is a dual-flush unit — these have more parts and tighter tolerances; misassembly is common. Water is leaking from the base or the supply connection — that is a different fault that needs proper diagnosis. You have fixed it and it still runs — a cracked cistern, a warped seating surface or a hairline fracture needs experienced eyes. A plumber carries universal internals on the van and can usually sort a running toilet in a single visit — often cheaper than two trips to the DIY shop for the wrong parts. Stopping it happening again Do not drop bleach blocks or harsh chemical cleaners in the cistern — they degrade rubber seals and shorten the life of every part inside. In hard-water areas, descale the cistern internals once a year when you do your other maintenance. Fix
Noisy Pipes: What That Banging and Gurgling Really Means
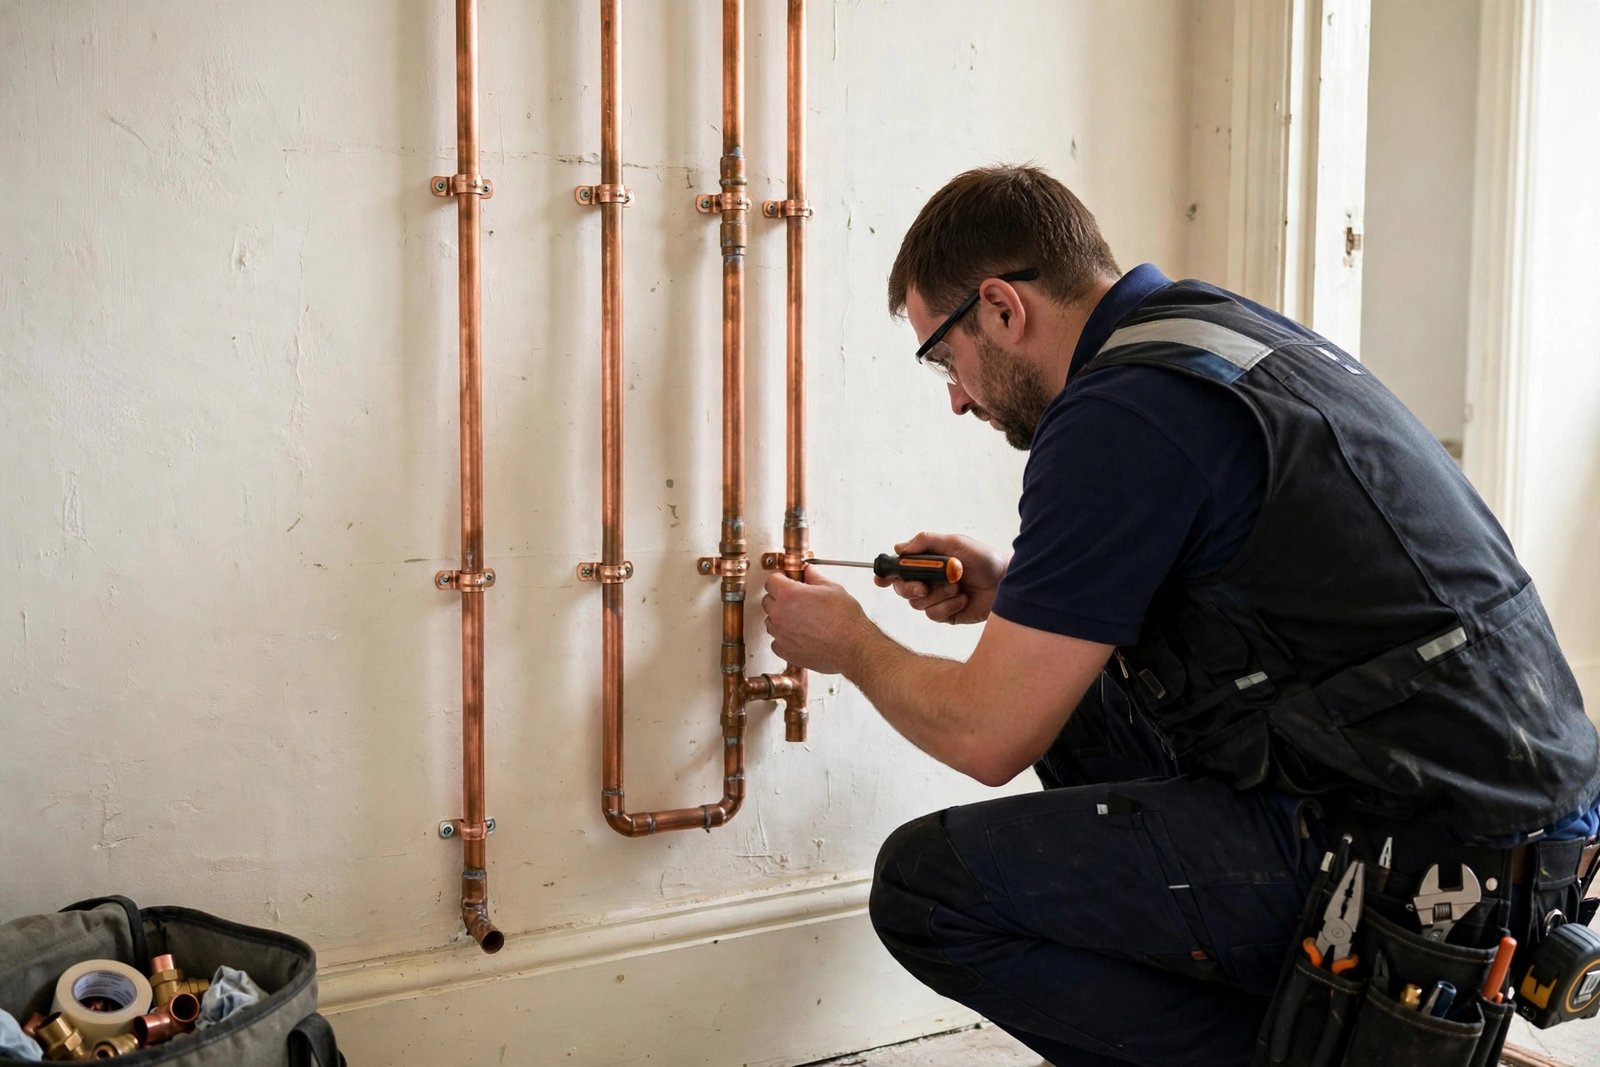
If your home pipes bang, clank, whistle or gurgle, you’re not imagining it — and it’s worth finding out why. Most noisy pipes have a straightforward cause, and many can be fixed in a single visit. Others are an early warning of something more serious, like a developing blockage or pipework under damaging pressure. Here’s how to tell the difference, what you can try yourself, and when it’s time to call a plumber. The bang: water hammer The most common cause of a loud bang or thud when you turn a tap off (or when a washing machine or dishwasher finishes filling) is called water hammer. It happens when flowing water is brought to a sudden stop and the shock wave has nowhere to go, so it slams through the pipework. Water hammer is most likely when taps are shut off quickly, washing machines or dishwashers fill and stop abruptly, your water pressure is high (over about 3 bar makes hammering more violent), or pipework is poorly clipped. A one-off knock is usually nothing to worry about. But repeated, violent banging is genuinely destructive: over months and years it can loosen joints, crack fittings, and eventually cause a leak behind a wall or under a floor. How to fix water hammer A few practical fixes, roughly in order of simplicity: Turn taps off more gently. With quarter-turn taps, close them with a slow, deliberate motion rather than a snap. This alone often tames mild hammering. Reduce your water pressure. If a plumber measures high mains pressure (common in Crawley homes on certain supplies), fitting a pressure-reducing valve where the mains enters the property brings everything down to a calmer level — typically around 3 bar. Fit water hammer arrestors. These are small shock-absorbing devices fitted near the offending valve or appliance (behind a washing machine is a classic spot). They contain a cushion of air that absorbs the shock wave. They’re inexpensive and a plumber can fit one in minutes. Re-clip loose pipework. If pipes move visibly when they bang, they need more clips or better-positioned ones. This is a quick, cheap fix that stops a lot of noise. If the banging is severe enough to shake pipes or rattle the whole run, don’t leave it — get it looked at before a joint gives way. Loose or badly clipped pipework Not every bang is water hammer. Pipes that were never clipped properly — or whose clips have perished over the years — can rattle, creak and knock as water flows through them, especially in heating systems. You’ll often hear this in the floor void or inside stud walls, and the noise usually matches the rhythm of the water flow rather than a single sharp thud. The giveaway is location: if the noise clearly travels along a run of pipe, or you can feel the pipe moving where it’s exposed (in the airing cupboard, behind the washing machine), it’s a clipping job. A plumber can track the run and add proper clips at sensible intervals, plus lagging where pipes pass through joists so they can’t knock against timber. It’s a cheap fix that makes an immediate difference — especially if the pipes run under a bedroom. Gurgling drains: usually a blockage warning Gurgling sounds from sinks, baths or toilets — especially a “glug-glug” after water drains away — almost always mean air is being forced through the trap because the normal venting path is restricted. In plain English: there’s a partial blockage developing downstream. This is one noise you shouldn’t ignore. A slow-draining sink that gurgles today can become a fully blocked drain tomorrow, and blockages that back up into a bath or toilet are deeply unpleasant to sort out at short notice. Watch for: Gurgling in the bathroom sink when the toilet is flushed (or vice versa) Water draining more slowly than it used to Bad smells alongside the gurgling For a mild case, a plunger (used firmly, with the overflow sealed) can clear a partial blockage in a basin or bath waste. If the gurgling persists or affects more than one fixture, the blockage is further down the line and needs professional clearing. Our guide to blocked drains in Crawley explains what happens next. Airlocks and hissing: trapped air in the system A different family of noises comes from trapped air in heating pipework: ticking, clicking as pipes heat up and cool down, and a hissing or “kettling” sound from the boiler area. A little ticking as radiators warm up is normal — it’s just metal expanding. But loud hissing, constant gurgling in radiators, or radiators cold at the bottom while hissing at the top usually point to trapped air, limescale, or (in older systems) a failing pump. Homeowner checks worth doing: Bleed your radiators. If the top is cold and it hisses when you open the bleed valve, trapped air is the culprit. Have a cloth ready and catch the first spurt of water. If radiators are cold at the bottom instead, that’s sludge rather than air — and needs a system flush by an engineer. Check boiler pressure. If it sits well below 1 bar, the system needs topping up — but if it keeps dropping, that’s a leak somewhere and worth investigating through our leak detection service. When a noise means call a plumber Call a plumber sooner rather than later if: The banging is violent enough to shake pipes or rattle walls — water hammer is damaging your pipework every time it fires Gurgling comes with slow drainage or smells — a partial blockage is forming You hear dripping or running water inside a wall or ceiling but can’t see it — that can be a hidden leak causing damage right now Noise started suddenly after plumbing work — something may have been left loose or misaligned The noise comes with low water pressure or discoloured water — worth getting the system checked sooner rather than later If water is actively leaking from
Low Water Pressure Causes & Fixes for Crawley Homes
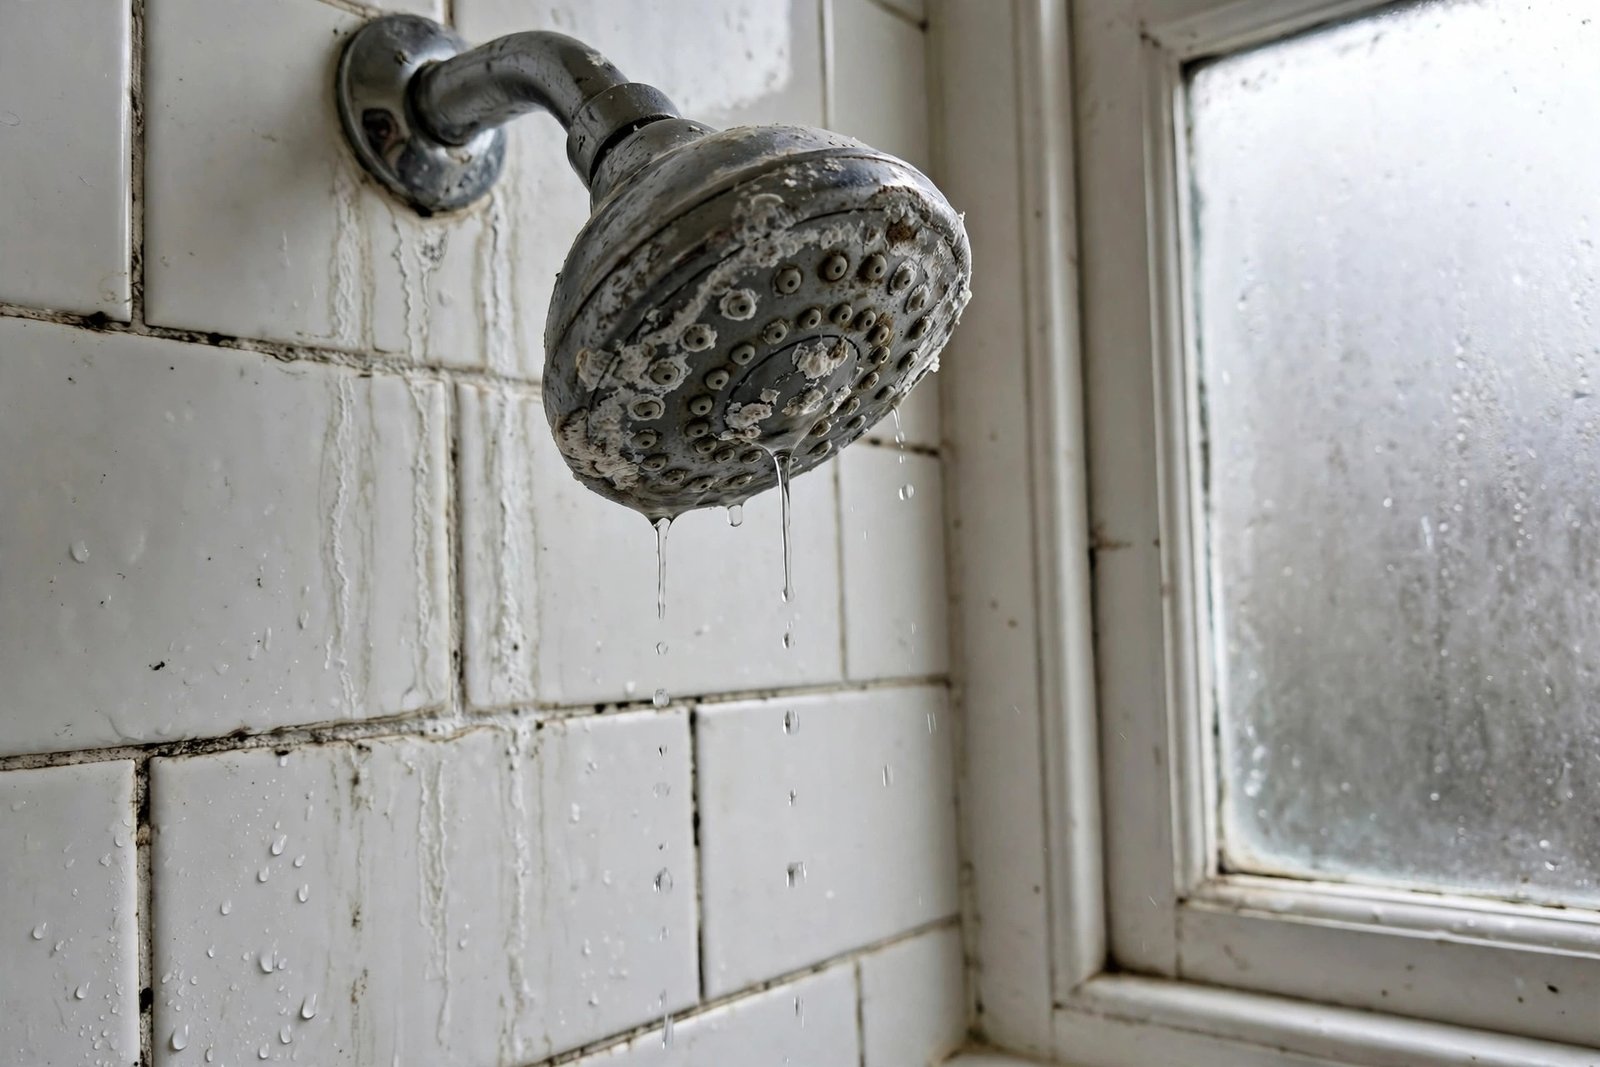
A shower that barely rinses shampoo out, taps that take an age to fill the sink, a cistern that refills at a trickle — low water pressure creeps up gradually, so you adapt without realising how bad it has got. Most pressure problems have an identifiable cause and a fix. This guide covers the common causes in Crawley homes, the checks to run first, fixes that work, booster pump options and costs, and when to call a plumber. What counts as normal pressure? UK mains pressure typically sits between 1 and 3 bar, and suppliers should deliver at least around 1 bar at the boundary stopcock. Below that, showers go weak and upstairs taps suffer first, fighting gravity too. Pressure is the force pushing water; flow is how much arrives. A furred-up pipe can start strong then fade to a dribble — a flow restriction, and the distinction matters for diagnosis. The common causes of low water pressure Limescale in aerators and showerheads The most common cause in Crawley’s hard-water area. Tap aerators and showerheads clog with limescale until water barely gets through. Bad at one tap but fine elsewhere? This is almost certainly it — and the easiest fix. A stopcock that is not fully open After any plumbing work, a stopcock sometimes gets left half-closed — a quarter-turn short of fully open throttles the whole house. Always check this first; it costs nothing to fix. Hidden leaks Water escaping before it reaches your taps reduces pressure downstream. A gradual whole-house pressure drop plus a creeping water bill means suspect a leak — see spotting leaking pipes early. Corroded or furred-up pipework Old galvanised or copper pipework corrodes and scales internally over decades, narrowing the bore. Tell-tale sign: pressure worsening very slowly over years, worst on hot taps. A faulty pressure reducing valve (PRV) Some homes have a pressure reducing valve (PRV) protecting the pipework. When it fails it can stick half-closed and strangle the supply — a prime suspect if pressure dropped suddenly. Shared or restricted supply Older terraces sometimes share one supply pipe, so morning and evening peaks drop pressure for everyone. Old narrow pipes (lead or half-inch) simply cannot deliver modern flow rates. Supplier-side issues Roadworks, burst mains or maintenance in your street can drop pressure temporarily. If the problem appeared suddenly and your neighbours have it too, it is almost certainly the network, not your plumbing. Quick checks before you spend money Work through these in order — most pressure problems are solved by step 2 or 3: Check with neighbours. If they have the same problem, call your water supplier — it is their network. Check their website for reported works in your area first. Check your stopcocks. Find your internal stopcock (usually under the kitchen sink) and the external one at the boundary. Both should be fully open — turn anticlockwise until they stop. Our guide on how to turn off your water supply shows where to look. Clean the aerators. Unscrew the nozzle from the end of each affected tap, soak it in white vinegar or descaler for an hour, scrub with an old toothbrush and refit. Do the same with the showerhead — or soak it in a bag of vinegar tied over the head overnight. Check one tap vs all taps. One bad tap means a local blockage (aerator, tap filter or a kinked flexi hose). All taps bad means a supply-side issue. Check hot vs cold. Poor hot pressure but fine cold often points to the boiler, a scaled hot water cylinder coil or a failing mixer — not the mains. Look and listen for leaks. Damp patches, the sound of running water, a meter that moves when nothing is running. Fixes that work Descale or replace aerators and showerheads — a few pounds each, and often transformative. Open stopcocks fully — free, and embarrassingly often the answer. Replace a faulty PRV — a plumber’s job, but straightforward. Powerflush or replace scaled pipework — for severely furred old pipes, replacement of the affected runs is the lasting fix. Fit an accumulator or booster pump — when the incoming mains simply cannot deliver enough (see below). What does not work: “pressure boosting” showerheads help a little by aerating the spray, but they cannot create pressure that is not there. And never adjust or remove a PRV yourself to chase more pressure — it protects your pipework and appliances. Booster pump options and costs If the mains supply to your home is genuinely weak and the supplier cannot or will not improve it, a booster pump is the answer. The main options: Shower pump (single or twin impeller) — boosts one shower or the hot supply. Pumps start around £120 to £250 for the unit; fitted, expect £300 to £500 all in. Whole-house booster pump — pressurises the entire cold supply. Units run £200 to £500, with total installed costs typically £500 to £900 depending on access and pipework changes. Accumulator vessel — stores pressurised water and releases it on demand, giving strong flow without a pump running constantly. Quieter and excellent for combi-boiler homes, but pricier: £600 to £1,200+ installed. Costs vary with the layout of your home and the pump specified, so treat these as realistic ranges rather than quotes. A plumber can test your actual pressure and flow and recommend the right option — oversizing a pump wastes money and can damage pipework. When to call a plumber Call a professional if: Pressure is low across the whole house and the stopcocks are fully open You suspect a hidden leak — pressure loss plus any sign of damp needs professional leak detection Hot water pressure is poor but cold is fine (possible cylinder, boiler or valve issue) You are considering a booster pump or accumulator — sizing and installation need to be right Pipework is old, corroded or undersized and needs replacing Pressure dropped suddenly with no obvious cause A plumber with a pressure gauge can tell
Leaking Pipes: Early Signs, Fixes & Crawley Repairs
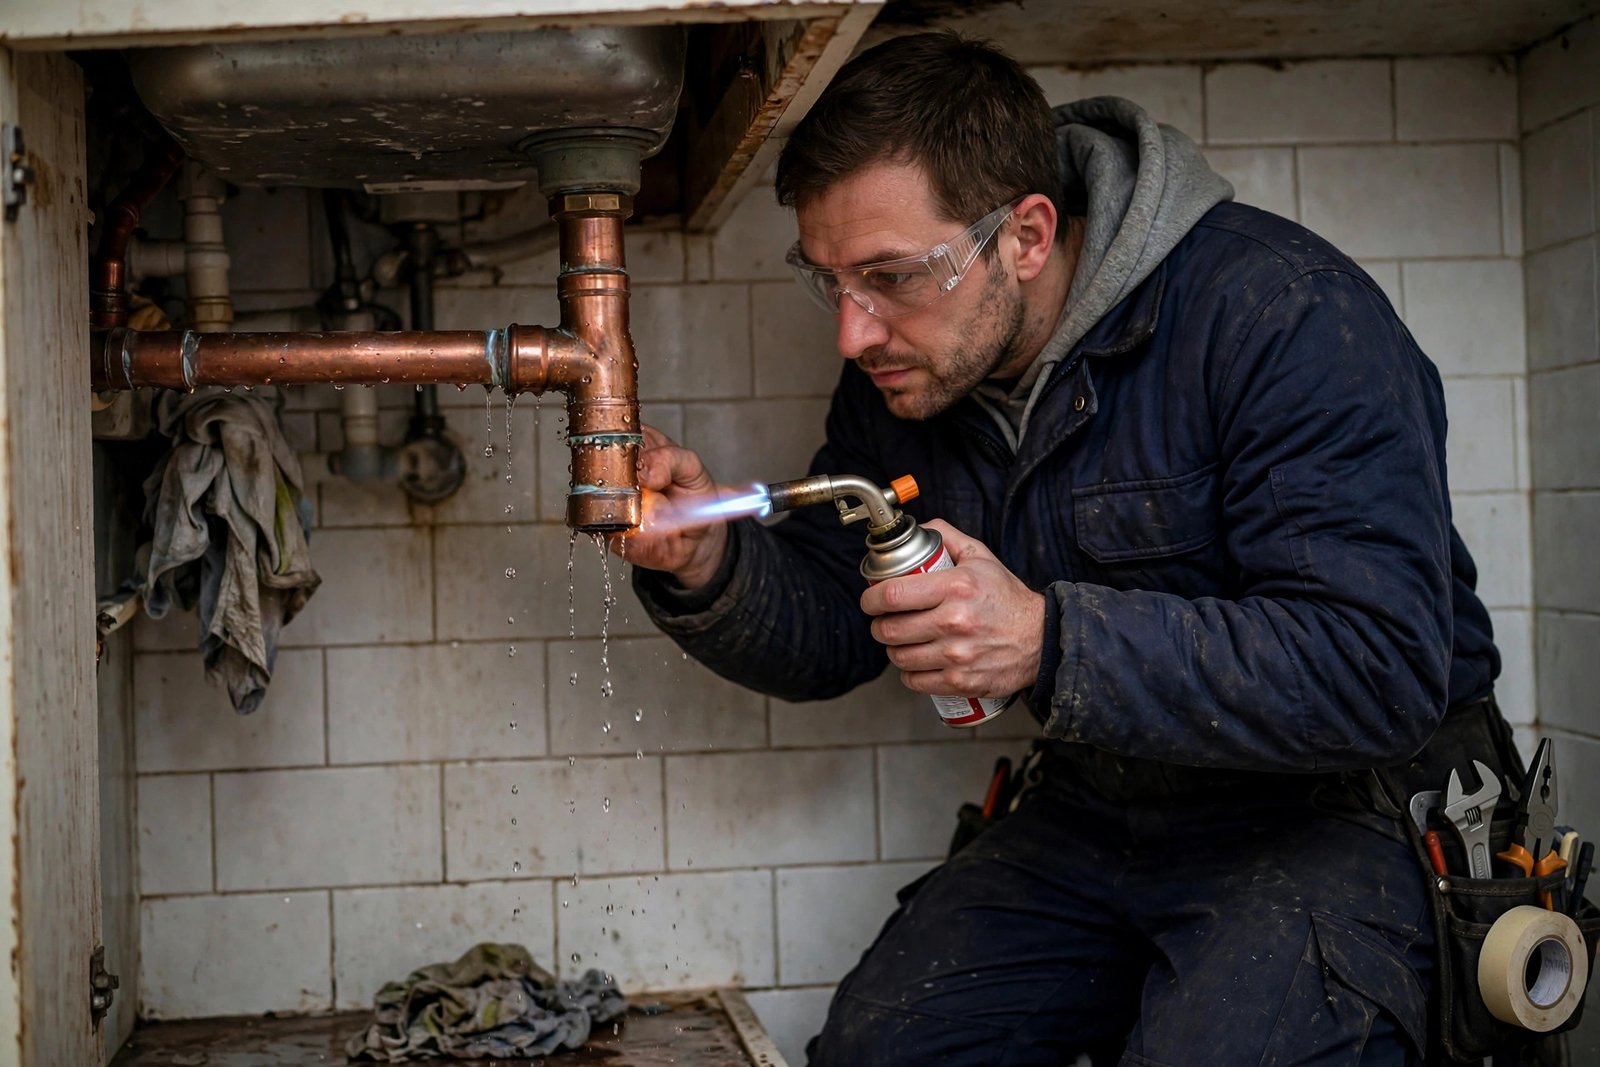
A leaking pipe rarely announces itself. Unlike a burst pipe — dramatic, obvious, impossible to ignore — a slow leak can run for weeks or months behind a wall, under a floor or inside a cupboard, quietly soaking timber, plaster and insulation. By the time most people notice, the repair bill has grown from a simple pipe fix into damp treatment, redecoration or new flooring. The good news: leaking pipes almost always leave clues. This guide covers the early warning signs, where leaks like to hide, what to do the moment you suspect one, temporary fixes that buy you time, and when to call in professional leak detection. Early warning signs of a leaking pipe Watch for these — any one of them is worth investigating: Damp patches on walls, ceilings or floors that were not there before, especially ones that grow or darken A musty or earthy smell in a room, cupboard or hallway with no obvious source Mould growth, particularly black mould appearing on walls or skirting boards A water bill that has crept up with no change in your usage — a classic sign of a hidden leak The sound of running water when no taps are on, especially at night Low water pressure at taps or in the shower that has developed gradually Warped, lifting or stained flooring — laminate and wood floors react quickly to moisture from below Flaking paint or bubbling wallpaper Your boiler losing pressure repeatedly with no visible leak (the leak may be on the heating circuit) A single sign might have another explanation, but two or more together should be treated as a leak until proven otherwise. Where leaking pipes hide Leaks happen at joints, bends and anywhere pipes have been stressed — and the worst ones are the ones you cannot see: Under sinks and basins — supply connections and waste traps work loose over time; check inside cupboards with a torch Behind baths and shower enclosures — pipework boxed in during a bathroom refit is a classic hiding place Under floorboards and in ceiling voids — central heating pipes and hot water runs live here Inside walls — particularly where pipes pass through masonry or under windows In the loft — header tanks, overflow pipes and exposed runs are vulnerable, especially after cold snaps Outside — the supply pipe between your boundary and the house can leak underground, showing up as a soggy patch in the garden or an unexplained damp cellar In Crawley’s older terraces, original pipework can be decades old, with compression joints that have slowly worked loose. In newer estates, leaks more often come from push-fit joints that were never fully seated or pipes nicked during other building work. What to do the moment you suspect a leak Turn off the water. If you can see or hear an active leak, shut off the mains stopcock straight away — our guide on how to turn off your water supply shows you where to look. For a heating-circuit leak, switch the boiler off too. Contain the water. Buckets, towels and bowls under the drip; move furniture, rugs and electrics away from the wet area. Take photos. Document damp patches, staining and any visible leak — useful for insurance and for the plumber. Check your water meter. Note the reading, avoid using any water for an hour or two, then check again. If it has moved, water is escaping somewhere. Do not ignore it. A small leak never stays small. Water finds its way into joists, insulation and electrics, and the longer it runs the more damage it does. If the leak is major — water pouring through a ceiling or flooding a room — treat it as an emergency: turn off the water and call our emergency plumbing line immediately. Temporary fixes that buy you time These will slow or stop a small leak until a plumber arrives — they are not permanent repairs: Epoxy putty — knead the two-part putty, press it firmly over the leak on a dry-as-possible pipe, and let it cure. Good for pinholes and weeping joints on copper and plastic. Self-amalgamating repair tape — stretch it tightly around the pipe, overlapping each turn by half. It fuses into a watertight band. Works best on straight runs. A pipe repair clamp — a metal sleeve with a rubber lining that bolts around the pipe. The most robust temporary fix, available at DIY shops. Tightening a compression joint — if the leak is a slow weep from a compression fitting, a quarter-turn with a spanner sometimes reseats it. Do not overtighten — you will make it worse. Keep the water pressure low while a temporary fix is in place, and check it regularly. None of these survive indefinitely, especially on hot pipes. When to call for professional leak detection Call a plumber with proper leak detection equipment when: You have the signs of a leak but cannot find the source The leak is behind a wall, under a floor or underground A temporary fix is not holding, or the leak keeps returning Your water bill or boiler pressure keeps dropping with no visible cause You need to know exactly where the leak is before lifting floors or chasing walls Professional leak detection uses acoustic listening equipment, thermal imaging cameras and moisture meters to pinpoint leaks without tearing the house apart. Finding the exact spot first means less damage, less mess and a cheaper repair. It is the difference between lifting one floorboard and lifting the whole floor. A note on insurance: “trace and access” Many UK home insurance policies include “trace and access” cover, which pays for the cost of finding a leak (lifting floors, removing panels) as well as repairing the damage it caused — though not always the pipe repair itself. Check your policy before work starts, and keep photos and receipts. A plumber’s written report on the leak’s location and cause strengthens any claim. Do not let a small leak
Dripping Tap Fix: Causes & When to Call a Plumber in Crawley
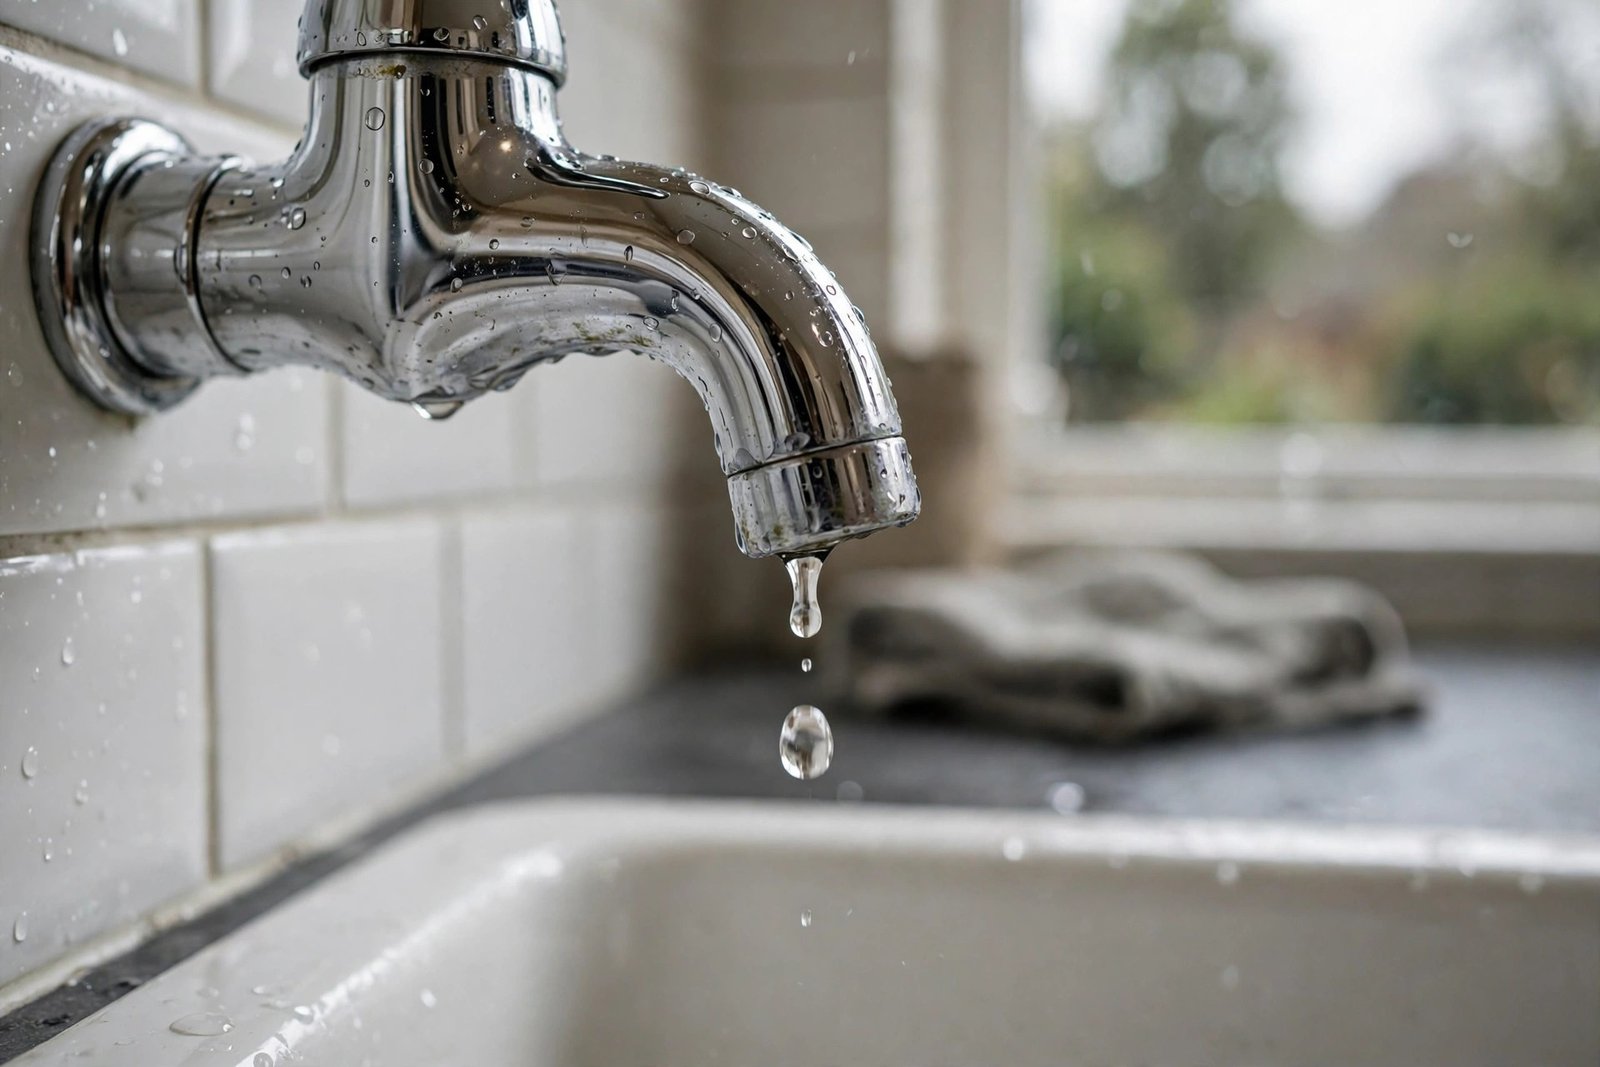
That steady drip-drip-drip from the kitchen or bathroom tap is one of the most irritating sounds in any home. Beyond the annoyance, a dripping tap wastes water and money every day it is left alone. The good news: most have a simple cause and a fix you can do yourself in under an hour. This guide covers the common causes, how much water a drip really wastes, step-by-step fixes for compression and mixer taps, and when the drip signals something bigger. Why taps drip: the common causes Taps drip because something inside no longer seals properly. Crawley is a hard-water area, so limescale wears tap internals out faster here. The usual culprits: Worn washer — the classic cause in traditional compression taps. The rubber washer compresses against the seat every time you close the tap, and eventually wears thin, hardens or splits. Worn O-ring — a small rubber ring around the spindle. When it perishes, water seeps past and the tap drips from the spout or around the handle. Worn ceramic disc cartridge — modern quarter-turn and mixer taps use a ceramic-disc cartridge instead of a washer. Limescale and grit score the discs or damage the seals, causing a persistent drip. Damaged valve seat — the brass surface the washer presses against. If it is corroded or pitted, even a brand-new washer will not seal. Loose or overtightened parts — a loose packing nut lets water through; cranking a tap shut too hard damages washers faster. High water pressure — very high mains pressure hammers tap internals and wears them prematurely, often on several taps at once. One dripping tap means the fault is inside that tap. Several dripping at once points to a pressure issue affecting the whole house. How much water does a dripping tap actually waste? More than most people expect. A tap dripping once per second wastes around 5 litres a day — well over 5,000 litres a year. On a metered bill that is money down the plughole: easily £15 to £30 a year for one bad drip. A constant drip also etches stains into enamel and steel, and leaves a crusty limescale ring that is miserable to clean. Fix it sooner rather than later. How to fix a dripping compression tap: step by step Compression taps are the traditional type with separate hot and cold taps that need a few turns to open fully. You will need an adjustable spanner, a screwdriver, a replacement washer (a few pounds from any DIY shop — take the old one to match the size), and possibly a replacement O-ring. Turn off the water. Find the isolation valve on the pipe feeding the tap (usually under the sink) and turn it a quarter-turn so the handle sits across the pipe. No isolation valve? Turn off the mains stopcock — see how to turn off your water supply. Open the tap to drain any remaining water, then plug the plughole so you do not lose small screws. Remove the tap head. Pop off the cap on the handle, undo the screw underneath and lift the handle off to reveal the valve. Undo the valve. Hold the tap body steady with one spanner and turn the valve nut anticlockwise with another. Lift the valve out. Replace the washer. At the base of the valve, remove the old washer (held by a small screw or nut), fit the new one the same size, and replace the spindle O-ring if it looks flattened or cracked. Check the seat. Shine a torch into the tap body. If the brass seat looks rough or pitted, it may need reseating with a tap reseating tool, or the tap may need replacing. Reassemble and test. Refit the valve, handle and cap, turn the water back on slowly, and check for drips. Run the tap for a few seconds to flush any debris. The whole job typically takes 20 to 40 minutes once you have the parts. How to fix a dripping mixer tap: cartridge replacement Mixer taps (single lever, or separate levers that only turn a quarter) do not have washers — they have a cartridge. The fix is to replace it. Turn off the water at the isolation valves or stopcock, and open the tap to release pressure. Remove the handle. There is usually a small grub screw or cap on the lever — undo it and lift the handle off. Remove the cartridge. Unscrew the shroud or retaining nut and lift the cartridge straight out. Note its orientation. Match the replacement. Take the old cartridge to a plumbers’ merchant or DIY shop. Cartridges come in many sizes and spline counts, so matching it exactly matters — a close-but-wrong cartridge will still drip. Fit the new cartridge, reassemble the tap, turn the water back on and test. A replacement cartridge typically costs £10 to £30, far cheaper than a new tap. When a dripping tap signals a bigger problem Most drips are a worn washer or cartridge, but take note if: The drip returns within weeks of a new washer. The valve seat is probably damaged, or water pressure is too high. Several taps are dripping. That points to a pressure issue affecting the whole house. The tap is stiff, noisy or juddering — it may be near the end of its life. Water is also leaking under the sink — the tap tails or supply connections may be failing. See spotting leaking pipes early. If you have replaced the washer or cartridge correctly and the tap still drips, stop throwing parts at it — the seat or the tap body itself is the problem. When to call a plumber A dripping tap is a fine DIY job, but hand it over when: You cannot identify the tap type or match the cartridge. The valve seat is corroded and needs reseating or the tap replacing. The isolation valve is seized and you cannot turn the water off safely. The tap is wall-mounted, concealed, or
7 Most Common Plumbing Problems in Crawley Homes (Fix or Call?)
From Victorian terraces near the town centre to modern estates in Maidenbower, Crawley’s housing stock throws up the same plumbing complaints again and again. Here are the seven we see most — what causes each one, whether you can fix it yourself, and when it’s time to call a professional. 1. Dripping Taps The cause: Usually a worn washer or a damaged ceramic disc cartridge inside the tap. Hard water — common across West Sussex — speeds up the wear. DIY or call? DIY, if you’re handy. Replacing a washer is a ten-minute job with a basic toolkit and a part that costs a few pounds. If the drip persists after a new washer, or the tap is a modern mixer with a sealed cartridge, a plumber will sort it quickly. Either way, don’t ignore it — a dripping tap can waste thousands of litres a year. Read our full guide to dripping tap causes and fixes. 2. Leaking Pipes The cause: Corrosion in older copper pipework, loose compression joints, frost damage, or physical knocks. Crawley’s older properties with original pipework are most at risk. DIY or call? Call. A weeping joint might look minor, but water finds its way into walls, under floors, and into electrics. If the leak is hidden — damp patches, musty smells, unexplained meter readings — you need proper leak detection to find it before it does real damage. See our guide on spotting leaking pipes early. 3. Blocked Drains The cause: In kitchens, it’s fat, oil and food waste solidifying in the pipe. In bathrooms, hair and soap scum. Outside, tree roots and collapsed sections of old clay drains are common culprits in Crawley’s older streets. DIY or call? Try a plunger first — it clears simple blockages. What you shouldn’t do is pour chemical drain cleaner down and hope; it can damage pipes and makes professional clearing harder and more hazardous. If the plunger doesn’t work, or multiple drains are affected (a sign the blockage is in the main line), call a plumber. Our blocked drains guide covers it in detail. 4. Running Toilets The cause: Almost always the cistern internals — a worn flapper or seal letting water leak into the bowl, or a faulty fill valve that never shuts off. DIY or call? Usually DIY. Cistern parts are cheap and widely available, and most can be swapped with basic tools. Turn off the toilet’s isolation valve first. If the cistern is old, cracked, or the fittings are corroded solid, a plumber can replace the internals in under an hour. Details in our running toilet guide. 5. Low Water Pressure The cause: Limescale build-up in pipes and shower heads (very common in hard-water areas like Crawley), a partially closed stopcock, a failing pressure regulator, or — in older homes — corroded galvanised pipes narrowing from the inside. DIY or call? Start DIY: check the stopcock is fully open and clean or replace clogged shower heads and tap aerators. If pressure is low at every outlet, or it dropped suddenly, that’s a job for a plumber — it could indicate a leak or a supply problem. More in our guide to low water pressure causes. 6. Burst and Frozen Pipes The cause: Water expands when it freezes, and the pressure splits the pipe — usually in uninsulated lofts, garages, or outside walls during cold snaps. The flood often happens when the ice thaws, not while it’s frozen. DIY or call? Call — this is an emergency. Your job is damage control: shut off the water (see how to turn off your water supply) and follow our burst pipe emergency steps. Prevention is far cheaper than cure: read how to prevent and thaw frozen pipes before winter arrives. 7. Boiler and Heating Problems The cause: Everything from low pressure and faulty thermostats to failed pumps, diverter valves, and heat exchangers. Cold radiators, strange noises, and pilot lights that won’t stay lit are the classic warning signs. DIY or call? You can safely repressurise a boiler and bleed radiators yourself. Anything involving opening the boiler casing is legally restricted to Gas Safe registered engineers — don’t touch it. Watch for the warning signs your boiler needs attention and act early; winter breakdowns are the most expensive kind. Simple Habits That Prevent Most of These Problems A little routine maintenance goes a long way. Bleed your radiators once a year before winter so trapped air doesn’t strain the boiler. Don’t pour fat or oil down the kitchen sink — wipe pans with kitchen roll and bin it. Clean shower heads and tap aerators every few months to stop limescale strangling your water pressure. Insulate any exposed pipes in the loft, garage, and outside walls before the first frost; it’s the cheapest insurance against a burst pipe you’ll ever buy. And once a year, turn your stopcock off and back on so it doesn’t seize when you need it most. Work through our winter plumbing checklist each autumn and you’ll head off the seasonal problems — frozen pipes, boiler breakdowns, and pressure issues — before they start. The Pattern Worth Noticing Five of these seven problems share one thing: they start small and get expensive when ignored. A weeping joint becomes a ruined ceiling. A slow drain becomes a sewage backup. A stiff stopcock becomes a flood you can’t stop. The cheapest plumbing job is always the early one. That’s also why knowing when to call an emergency plumber matters — and what emergency plumbing costs in Crawley before you ever need it. Dealing with any of these right now? Plumb Buster covers Crawley, Horsham, Horley and East Grinstead — open 24 hours for emergencies on 07908 948654. Browse our full plumbing services, read about us, or get in touch to book a visit.
Blocked Drains Crawley: Causes, Fixes & Prevention Tips
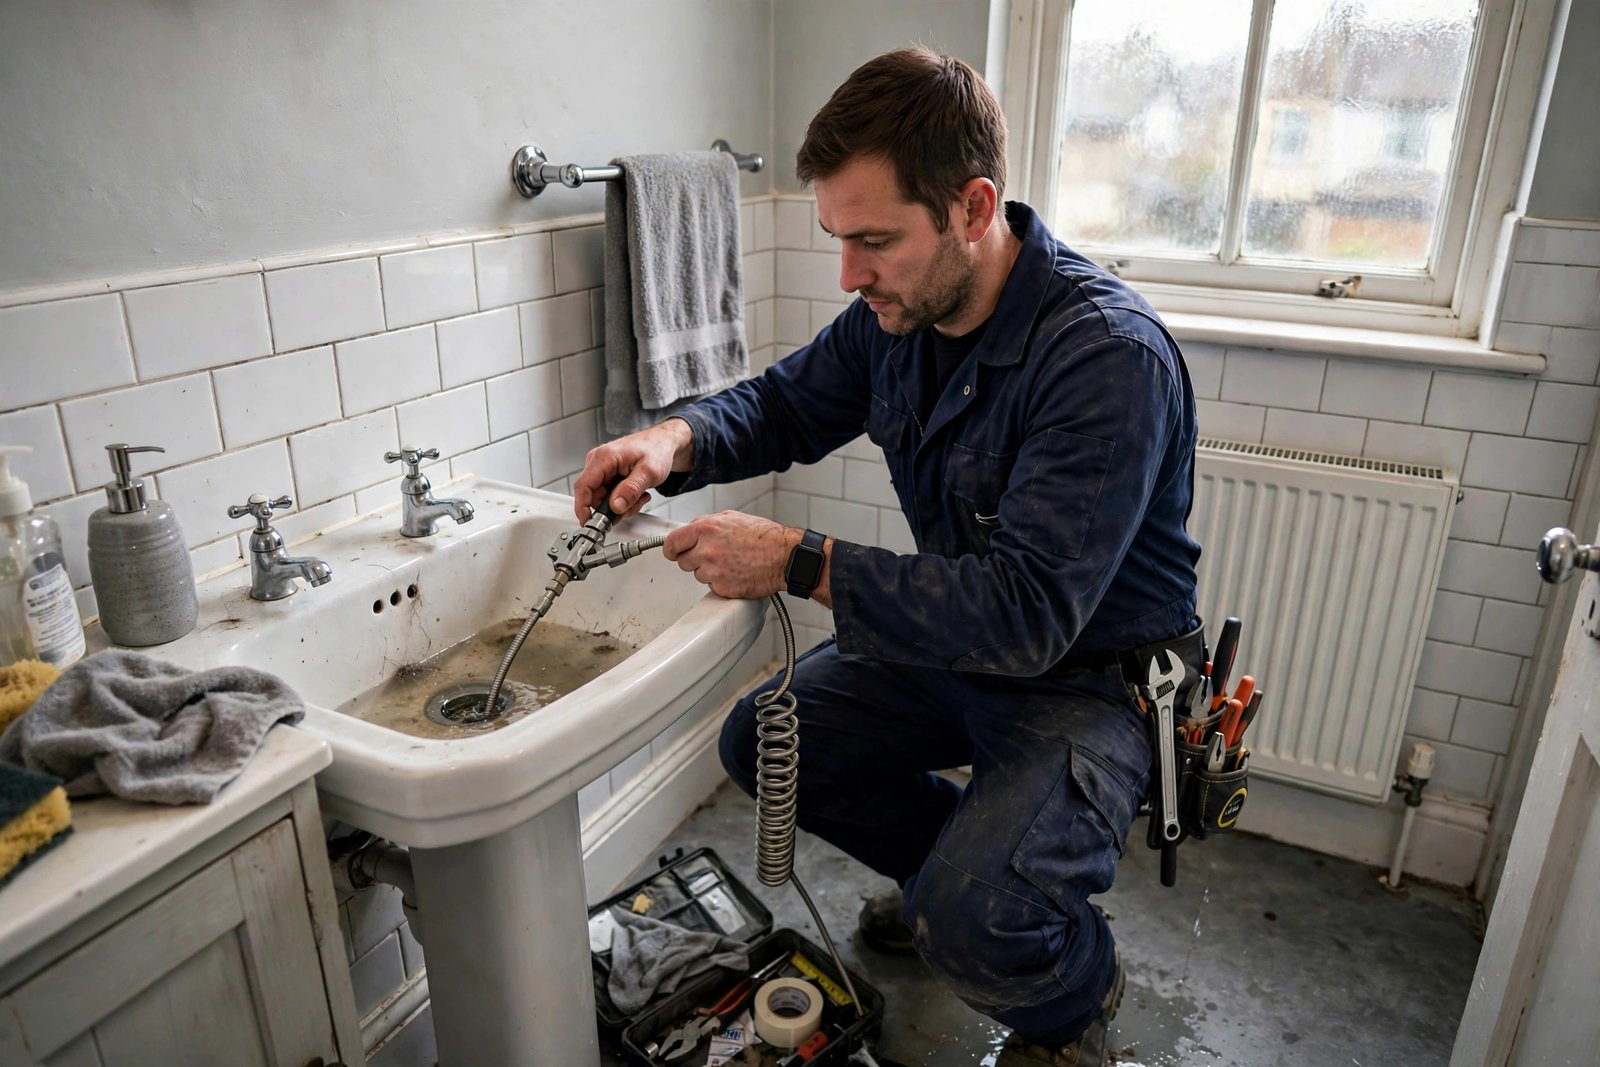
Few household problems are as unpleasant as a blocked drain: water rising in the shower tray, a sink that takes an age to empty, gurgling plugholes or a smell you would rather not identify. Left alone, blockages lead to overflows and water damage. This guide covers what causes blocked drains in Crawley homes, the DIY fixes that work, what should never go down your drains, and when to call a professional. What causes blocked drains? Most blockages build up gradually rather than appearing overnight. The main culprits: Hair and soap scum — the top cause of slow bathroom drains. Hair binds with soap residue into a dense mat inside the pipe. Fat, oil and grease — poured down the kitchen sink, fat cools and solidifies, trapping food until the pipe narrows. The biggest cause of kitchen blockages. Food waste — coffee grounds, rice, pasta and starchy foods swell and clump together in pipes. Wet wipes and sanitary products — even “flushable” wipes do not break down like toilet paper, and are a leading cause of serious blockages. Cotton buds, dental floss and small objects — they catch on pipe joints and become the seed of a bigger blockage. Outdoor debris — leaves, silt and, in older Crawley streets, tree roots finding their way into cracked clay drains. Crawley’s mix of Victorian terraces and modern estates means varied problems: older homes have narrower, ageing pipework that blocks easily, while newer ones suffer grease and wipe blockages. Signs your drain is blocked (or getting there) Catch it early and the fix is easy: Water draining slowly from a sink, bath or shower Gurgling noises from plugholes or the toilet Unpleasant smells coming up from drains Water backing up into another fixture (e.g. the shower fills when the toilet flushes) The toilet water level rising higher than usual after flushing If more than one fixture is affected at the same time, the blockage is probably in a shared branch or the main drain rather than a single trap — that is usually a job for a professional. How to unblock a drain with a plunger A plunger is the first tool to reach for, and technique matters more than force: Choose the right plunger. A cup plunger (the classic dome shape) suits sinks and baths; a flange or bellows plunger suits toilets. Seal the overflow. For a sink or bath, block the overflow with a damp cloth — otherwise the pressure escapes there instead of pushing the blockage. Cover the plunger cup with water. You need water in the basin, enough to cover the rubber cup. Plunging on air does very little. Plunge firmly and rhythmically. Push down, pull up sharply, and repeat 15 to 20 times without breaking the seal. The pulling action is what dislodges the blockage. Test the drainage. If the water drops away freely, run hot water for a minute to flush the pipe. If three rounds of plunging change nothing, move on — endless plunging rarely helps and can damage seals. Using a drain snake (auger) For blockages a plunger cannot shift, feed a manual drain snake into the plughole slowly; when you feel resistance, rotate the handle while pushing gently. The coil breaks through the blockage or snags it for removal. Never force it past a bend — you risk damaging the pipe. A basic hand auger costs £15 to £25 and handles most bathroom sink and bath blockages. For toilets, use a purpose-made toilet auger with a protective sleeve so you do not scratch the porcelain. Baking soda and vinegar: does it work? It helps a little with mild build-up: half a cup of bicarbonate of soda, half a cup of white vinegar, wait 15 minutes, then flush with hot (not boiling) water. The fizz loosens soap scum and grease films, but it will not shift hair mats or solidified fat — it is maintenance, not a cure. Skip it if the drain is fully blocked. What should never go down your drains Prevention beats cure. Keep these out of your sinks, toilets and outside gullies: Cooking fat, oil and grease — wipe pans with kitchen roll and bin it Coffee grounds Rice, pasta and starchy foods Wet wipes of any kind, including “flushable” ones Sanitary products and nappies Cotton buds, cotton pads and dental floss Paint, solvents and harsh chemicals Cat litter A simple plughole strainer in the kitchen sink and shower catches most of the rest for a couple of pounds. A word of caution on chemical drain cleaners Caustic cleaners can clear minor blockages but can damage old pipework and enamel, splash back dangerously, and release toxic fumes if mixed. Follow the instructions exactly, never mix products, and tell your plumber if you used them — it matters for their safety. When to call a professional Call a plumber if: Multiple fixtures are blocked at once — the problem is in a shared pipe or the main drain. There is a sewage smell or sewage backing up — do not mess about with this; it is a health hazard. The same drain keeps blocking — recurring blockages point to a damaged pipe, root ingress or a collapsed section that needs investigating. Outdoor drains or manholes are overflowing — these need professional jetting equipment and sometimes a CCTV survey. DIY has failed — a plumber’s high-pressure water jetter clears in minutes what hours of plunging cannot, without damaging the pipe. For a single blocked kitchen sink, the DIY steps above will usually do it — our guide to a blocked kitchen sink goes deeper on that specific problem. Preventing blocked drains A few habits keep drains flowing: Run hot water down the kitchen sink after washing up to move grease along Fit strainers over plugholes in sinks, showers and baths, and empty them regularly Bin fats and oils instead of pouring them away Flush only the three Ps: pee, poo and (toilet) paper Once a month, flush bathroom drains with hot water and